We all know that starting from ground 0 can be a challenging process. Questions like where to start, what to do, which tools to use are all valid questions we all need to ask ourselves. However, that can lead people to think that the process is complicated and they are not equipped for it.
The same things apply when you want to start a new blog, but you never dabbed into the WordPress world.
You go and see all these excellent sites, with many options and fantastic design, which are faster than ever, and it all seems complicated to do.
But let us convince you that starting a new blog can be more accessible than ever when you have the proper guidelines. And there won’t be any frustration happening when you follow some reasonable steps.
With this article, we will guide you through the steps you need to take to start a new blog and the tools to help you with your newly created blog.
Now, let us dive into this topic, shall we?
What do you need to do at the beginning?
Firstly you need to have an idea, a name for your blog. Then, around that name, you will create your website and everything necessary to create a brand. Then, of course, you also need to have a matching design, including a header, banners, logo, and everything visible on your site. Be very creative with this step, and remember, a good logo can go a long way; that’s the first thing that people associate with your company.
If you are creating a website for your store, go with the name of it. That’s simple, memorable, and connects it to your already existing brand. Of course, there is always a possibility that the name is already taken. But do not worry about it. Simply play around with your brand name and see what is available. Of course, if you have a unique name, that won’t be a problem.
Now, if you have this already planned out, let’s start with the technical stuff of WordPress.
The second step that you need to take is to buy a domain name. Yes, you have the name, yes it is available, but you still have to purchase it. That way, you will own the rights to that domain name. For that, you can use a domain registrar.
Next, you will need a blogging platform where you will be publishing your work—that’s where most people take the wrong turn and choose the not-so-popular option.
The best one, in our opinion, is WordPress. It is free to use, it has full customization available, you can install plugins, and the starting process is simple. It is the number one CMS for a reason.
Over 30% of websites that are on the web are made with this gem. In addition, some of the most popular bloggers out there are using it as well.
But for that, you need a ground to stand on, which is hosting in the online world. The hosting provider will provide you with servers that will store your site, site files, images, etc.
A hosting service should provide you with some critical stuff, so it is safe to say that you need to spend some extra bucks on it just to be safe.
There is a ton of providers that you can choose but do the research first. They must provide you with security, speed, and support.
All of them should provide this, but there are some things that you need to watch out for. For example, let’s say speed is crucial for a lot of reasons.
It will be frustrating for your visitors when the site takes forever to load. They will be mad and probably exit the site. But that’s not the only reason why speed is essential. Speed plays a big game in the SEO world as well. If the site lacks speed, it won’t be in the top searches on Google. Nobody will recommend a site that takes time to load, not even a friend to a friend.
Usually, these providers offer different plans, so be sure to check them all out and see what would work the best for you. Usually, the lowest price range will provide support for one site only. So if you are a beginner, you can start with that and then later upgrade to a more advanced host.
After you find the host and choose a plan, you will be able to sign up. It is just a regular sing up with your information, and after that, you will be able to choose a theme. Don’t worry about picking a theme; you can take your time and find the perfect fit that will work for now.
And now, you will have your dashboard right in front of you—the dashboard where you will spend the majority of your time.
The website is now empty, and if you are already prominent in the game, your audience will easily find it but be disappointed when they hit a blank page. But, no worries, it’s time to update your page with some cool stuff.
Here is how the dashboard looks like. And that’s where the magic happens.

The first thing that you can do is install a new theme that you want.
To do so, you can go to Appearance -> Themes -> Add New.

Then just add the file that you got from the download, and that’s pretty much it.
Write the first official post
It is always good to write a new post with some primary lines to see how the theme looks and if everything is up to the standards you want.
To create a new post, go to Posts -> Add New in your dashboard. That will open the block editor in which you will be able to write your blog content. Of course, you can add text, images, buttons, quotes, and so on.
It is always a good practice to explore the dashboard and all the options to see what you can do and improve, at least before you launch your site.
Now, onto the essentials that make your site cooler. They go by the name plugins. There are thousands of them out there, for every niche, for every purpose. Some are trustworthy, and some are not, just like with everything else. It would be best to research before you decide to install one on your page because a poorly coded plugin can cause a lot of damage. But that’s fixable with a plugin as well. You will see that in the following parts of this article.
The first plugin that is the best to install is a plugin that will notify your customers that the site is in development.
You can easily tell them that your site is in coming soon mode with the Coming Soon & Maintenance Mode plugin. Think of it this way, your site will be empty, but you still want to look fantastic and collect information from your visitors, as well as inform them.
You know when you want to visit a site, and it says “Coming Soon” with a perfect design? Well, this is it. Now you can also have the same effect on visitors as those sites.

This plugin has over 150 themes that you can browse through and finally find the one that you want. They are easy to customize, easily adjustable to any brand, and professional as well. Simply choose one, put a contact form, and let people sign up before the site is even up. That way, they will be informed as soon as the page goes live.
They will give you information that you can use for your email marketing, which is still a trend nowadays.
These are some of the themes you can use, and you can see that professionals make them.

When you decide to buy the plugin, all that will be left to do is sign up for it. Enter your name and pick a password, but a strong one. After that, the plugin will redirect you to the coming soon dashboard.

On that dashboard, you will see all the steps you need to take to create a fantastic coming soon page, and all the information for your account will be in your email inbox.

Now, you have a coming soon page that will inform your visitors about the status of your site but at the same time allows you to keep working on it. But what to do next?
The next step is to secure your site and be prepared for many problems that can occur for many reasons.
Finding the right tools that work for simply everyone is hard, and it is even harder to find the one that will have your back. We get it, and there are thousands of thousands of tools on the web. Even when you see the ones you like, the process of installing can be tedious and lengthy. Installing them all one by one is a thing of the past because a tool with the name of WP Reset will save the day.
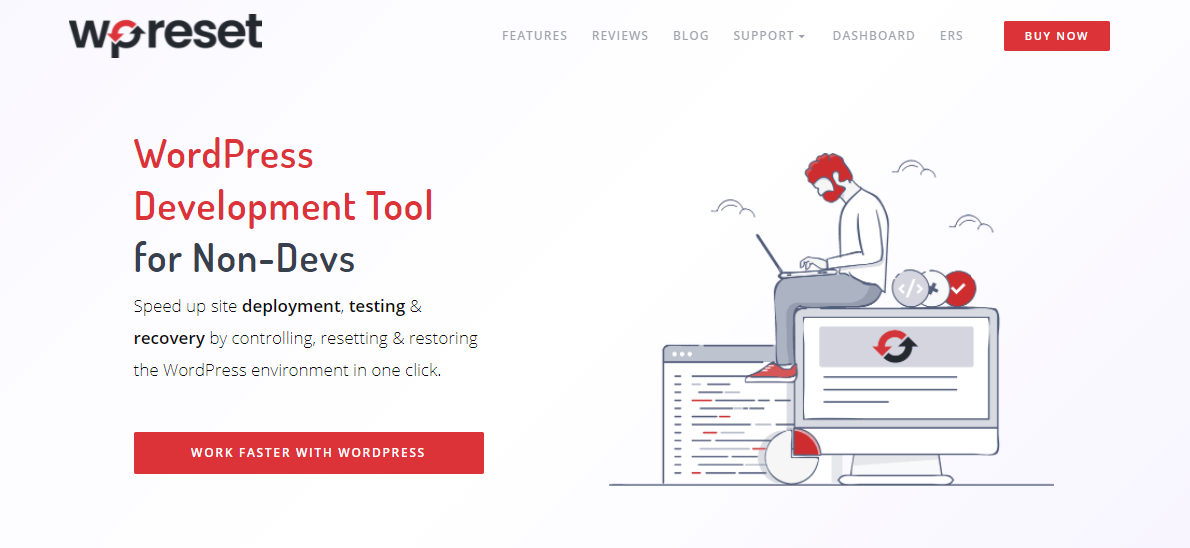
It lets you make collections with all of your plugins and themes, which will then be installed in bulk with a click. So it really is a lifesaver. But, it also saves you from a lot of troubles that can happen with a WP site.
Let’s say you are not satisfied with the way your site looks, but starting over from scratch is a lot of trouble. There is so much to delete that is discouraging you from keeping the website. With WP Reset, you can hit the nuclear reset button, and everything will be gone in a matter of minutes. A clean, fresh site for you to work on again will be available.
It is also an excellent tool for testing out plugins and themes. Sometimes some plugins don’t work with each other, and sometimes a new update can ruin your site. Whatever it is, if it makes a problem, this tool will let you fix that. Before any significant install/update/change on your site, the tool will create a database snapshot. That snapshot will be your hero. If the change damages your site, quickly restore the snapshot, and it will reverse anything that has been done. It is like having your own time machine.
Remember those poorly coded plugins we talked about? Well, this is a solution that you can use to test them out. Then, if they don’t perform well, restore a snapshot, and voila.
Let us show you a quick glimpse at the dashboard of WP Reset.
All the important things are on this dashboard.

This is how it looks when a user creates snapshots versus automatic snapshots that the plugin takes before any significant event on the site. Yes, you can take snapshots on your own, just in case.

The button actions are where you will be clicking if you want to restore a snapshot to take you back.
And for the collections feature. This is how it looks like; simply click on Add Collection.

After that, give the collection a name and click on Add a New Collection.

Under those options, you will see your newly added collection, and you will be able to add your favorite plugins and themes.
When you are done adding them click on Install Collection, and that’s pretty much it.

There is also a tool by the name of Emergency Recovery Script that is entirely free and a part of WP Reset. However, it is also important to say that you can use this script without having WP Reset.
This little guy is your number one lifesaver if you ever get locked out of your admin area. That can happen for many reasons, from a bad plugin to a malicious file.
If that happens, you can simply, with a link, open the back door and enter your admin area like a spy.
The same goes if you ever forget your username or password. We think, “oh yeah, I will not forget it”, but the truth is totally different.
Via ERS, you can create a brand new admin account and give it a password, and with that, you will be able to enter your dashboard. Yes, you can do this repeatedly, but it would be helpful for you to keep your passwords and usernames somewhere.
ERS will also check every WP core file and compare it to the master copy on wordpress.org. Then, if a file is changed or missing by any chance, it will automatically download the original version and replace it. It is like having your own security guard that checks the property for safety.
Now that you have a plugin informing your visitors about your status, a plugin that helps you fix any problem that happens, it’s time to focus on the visible part of your site.
The thing that will help you with your conversions and your customers to navigate your site more quickly is a navigation bar or a menu. But, how can you improve the regular menu that just disappears while people are scrolling down? Easy, with WP Sticky. It is a plugin that is so easy to use that you will be in awe.
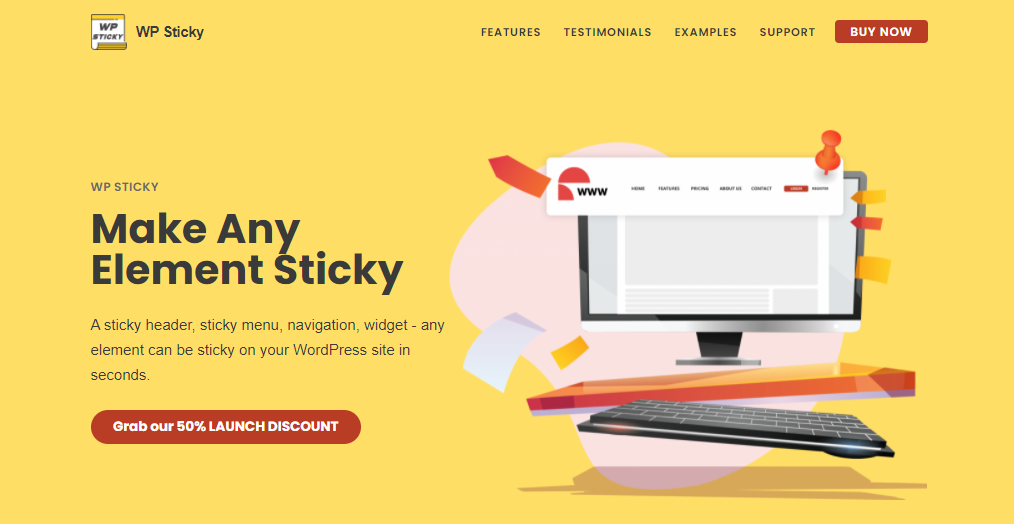
WP Sticky is a plugin that lets you create a sticky element out of anything. No worries, there is no coding whatsoever. Everything is done by your hand and your mouse.
Now that you have a sticky menu on your page, no matter how far your customer scrolls, the menu will follow him. It will let him move to another part of your site without having to scroll up for an eternity.
It is also worth mentioning that you can make any element on your site sticky with this tool.
Here is how the dashboard of WP Sticky will look like.

Clicking on Add New Sticky Element will open something like this.

Now you click on Basic, and that’s where you choose the name and the element.

In the visual and advanced settings, you can mess around with opacity, animation, and similar things. After you are done doing so, simply click Save Changes, and that’s pretty much it.
Want to promote some special offers? Quickly make a widget, stick it on a post, page, whatever, and let it follow your customers through their journey on your site.
But what if you have a business that has a psychical store? How can you promote it on your website in an excellent and slick way?
Having just the address and the regular information is dull and can easily be overlooked.
That can easily be fixed with a plugin by the name of Google Maps Widget PRO. It will help you put a map on your site, but an elegant map! The plugin itself is easy to use, and there is nothing that can go wrong. It takes only two minutes to get it on your site, and if you have more stores, no problem. You can put as many pins and maps as you need. There is no limit.

Are you having a big sale in one of the stores? You can promote it on your pages, posts, menus, sidebars or include it as a widget. Simply write an article, promote it, and put the map in it.
All the maps that you create will be mobile responsive. Meaning, the visitors who are browsing through your site on a mobile device will also see them as good as people on the PC.
Besides, you can customize them in any way that you want. Make them a part of your site. Let them blend in like they were always meant to be there. There is no room for those bland maps that people use.
Now, let us show you how to create your first map with this little helper.
1.You need to go to the left side of your WordPress dashboard and click on Appearance -> Widgets
2.After that, find the Google Maps Widget Pro widget on the list of the active widgets
3.Simply drag and drop the widget to the right side of your dashboard into the Google Maps Widget PRO hidden sidebar

Just a second after you have dropped the widget, it will become active. Now, all the settings will appear right in front of you.
To add the address, you will need to fill in the title and address. After that, click save, and the map will be ready!

On top of that, if you want to move the map to another sidebar, another widget area, or a footer, it is possible.
All that you need to do is drag the map to that area and drop it there. Then, after a quick refresh of the page, you will see the map where you wanted it to be.

You can customize it in any way you want to, as we already said. Play around with the design, put as many pins as you want to, let your imagination run free.
Conclusion
In the end, starting a WordPress blog is a piece of cake when done using a proper tutorial. So, be sure to choose a perfect domain name for your brand as well as suitable hosting, and remember, everything else can be done by your own hands—no need for expensive developers that cost tons of money.
With plugins at your disposal, you are just as capable as some developer. All the plugins that we recommended are top-notch plugins. They all are working perfectly fine and have excellent customer support 24/7. Believe us, in the long run, you will see it for yourself. Customer support is a thing that will have your back at any given point. So don’t settle for plugins and services with no support.
With that said, we hope you enjoyed reading this article. In it, we provided information valuable to both beginners and pros. Now take this information and create the blog of your dreams. Nothing is stopping you!